Qubic (QUBIC) is a bold experiment in making mining actually useful, and not just energy-intensive math for the sake of consensus.
At its core, Qubic combines Useful Proof-of-Work (uPoW) with AI model training. The project was launched by Sergey Ivancheglo, better known as CFB. It’s the same mind behind IOTA and NXT. Qubic’s design rewards real computational effort, not wasted wattage.
And it’s actually working. In 2024 and into 2025, QUBIC miners have been raking in over $3 million worth of QUBIC per week.
That kind of profitability with Qubic miners got miners and AI enthusiasts interested, especially since it rewards both CPU and GPU contributors.
It’s actually fairly easy to get started. I’ll explain how to mine Qubic, and go over different steps for different setups.
Let’s get started!
Key highlights:
- Qubic mining uses Useful Proof-of-Work to train an AI model, not just solve hashes.
- You can mine QUBIC with CPU, GPU, or both, and boost rewards with dual Monero mining.
- The official Qubic miner supports Windows, Linux, Docker, and HiveOS.
- Join a QUBIC mining pool like pool.qubic.li for weekly payouts based on your contribution.
- Setup is beginner-friendly, with advanced options for tuning and performance boosts.
- Whether you’re learning how to mine Qubic with GPU, CPU, or HiveOS, the process is flexible and highly profitable.
How Qubic mining works
At a glance, Qubic mining looks like any other Proof-of-Work setup. You:
- Plug in your hardware
- Solve tasks
- Earn rewards
But under the hood, it’s very different.
Training AI, not just chasing hashes
Instead of hashing for blocks like Bitcoin or Ethereum (pre-Merge), Qubic miners contribute to a running AI project. Specifically, they help train a neural network called AIGarth, which serves as the intelligence behind Qubic’s decentralized compute layer. Every time your rig completes a training task, it’s doing two things:
- Earning coins
- Improving a global AI model
These training tasks involve running compute-heavy workloads, like matrix multiplications and tensor updates.
But what happens when there’s no AI work to be done?
That’s where Qubic gets pretty clever. During those idle times, the miner automatically switches to Monero mining using the RandomX algorithm (which is optimized for CPUs).
The Monero rewards are then sold for QUBIC and burned. It’s a process known as RAM mining (RandomX AI Mining). It:
- Reduces circulating supply
- Helps stabilize QUBIC’s economy
- Keeps miners busy and profitable
Roles within the network: AI miners and computors
Qubic’s network is structured around two key roles:
- AI Miners: That’s you, or anyone contributing compute power (CPU or GPU) to train AIGarth or mine Monero during downtime. AI miners don’t mine blocks directly. Instead, they accumulate performance scores throughout a 7-day cycle called an epoch.
- Computors: These are the 676 validator nodes who do get to produce blocks and earn the biggest rewards. At the end of each epoch, the top-performing miners can be selected to become Computors. While most miners won’t reach this validator status, it’s an important part of the system’s design.
Miners do the work, Computors validate the network, and rewards are distributed once per week, every Wednesday at 12:00 UTC.
Your share depends on how much compute power you contributed to AI training and RAM mining during that week.
Requirements for QUBIC mining
Before you dive into QUBIC mining, you’ll need to prepare a few essentials:
- A wallet
- Decent hardware
- A compatible operating system
The good news is that you don’t need a massive GPU farm or custom ASICs. Just solid gear is enough, especially if you’re willing to let your CPU do some heavy lifting.
Get your QUBIC wallet address
To receive mining rewards, you need a QUBIC wallet. This is where your mined coins will land after each weekly payout.
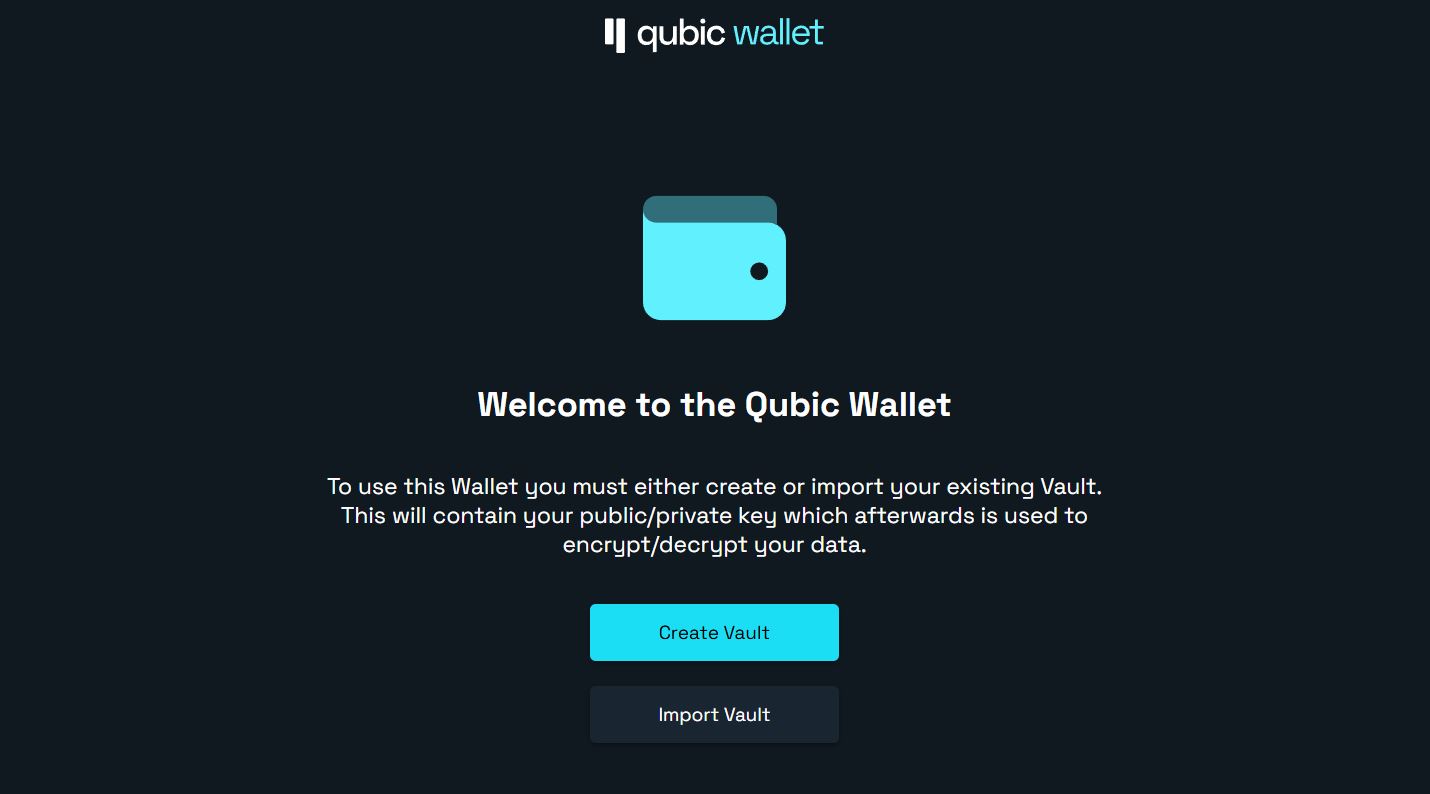
- Go to wallet.qubic.org and generate a wallet address.
- Make sure to back up your seed phrase securely. There’s no password recovery if you lose access.
- Important: QUBIC is not an Ethereum-based token, so don’t use a MetaMask or ERC-20 wallet. You need a native Qubic address that starts with “qubic_”.
This address will be used to identify your miner, whether you’re joining a pool anonymously or linking it to an account.
Hardware recommendations
QUBIC is refreshingly flexible when it comes to hardware. You can mine with a CPU, a GPU, or even both at the same time. That said, some setups will obviously earn more than others.
Qubic CPU mining
QUBIC was originally designed as a CPU-first coin. And it still rewards powerful CPUs with big caches and memory bandwidth.
Popular choices include high-core-count chips like the Ryzen 9 7950X or AMD Threadripper. Both consistently top benchmarks among the best CPUs for mining crypto in 2025.
Best results:
- AMD Ryzen 9 5950X / 7950X
- AMD Threadripper series
- Intel Xeon with high core counts
Minimum recommended specs:
- Support for AVX2 or AVX-512 instructions
- At least 16 GB of DDR4/DDR5 RAM
- Good cooling (QUBIC mining can max out your CPU for hours)
Even mid-range CPUs can earn, but the real profitability comes from multi-core monsters.
Qubic GPU mining
While CPU is king in QUBIC’s architecture, GPUs still have their place, especially for users mining AI tasks when RAM requirements are met.
Recommended cards:
- NVIDIA RTX 3080 / 3090 / 4080 / 4090
- AMD RX 6800 XT / 6900 XT / 7900 XTX
VRAM matters. Go for cards with at least 8–12 GB, as Qubic’s AI models are memory-hungry. Driver updates and thermals are also important, particularly if you’re running a rig with multiple GPUs.
If your rig includes high‑VRAM cards like the RTX 3080 or RX 7900 XTX, you’re in a great position. Many of these models are featured among the best GPUs for mining.
Hybrid mining
Here’s where it gets fun. You can run both your CPU and GPU at the same time using the Qubic.li miner.
- The miner will split the AI workload between CPU threads and GPU threads automatically.
- This dual setup maximizes your reward potential. It’s great for workstation users or mining enthusiasts.
Operating system and internet
No special OS tricks or crazy setups needed. QUBIC mining works on:
- Windows 10 / 11 (64-bit)
- Linux distributions (Ubuntu, Debian, etc.)
- HiveOS (if you’re running a mining rig)
The miner runs via terminal or command line, but there’s no deep scripting required.
As for internet, any stable connection will do. There’s no need for low latency or ultra-fast speeds. Even a modest broadband setup is enough to handle QUBIC’s traffic.
Now, let’s explain how to mine Qubic.
Step 1: Download the Qubic miner
Before you can start training AI and earning QUBIC, you’ll need to download the official Qubic miner.
Use the Qubic.li mining client (QLI miner)
This is the main software used by most miners in the ecosystem. It’s lightweight, efficient, and supports all common setups:
- Cross-platform – Works on Windows, Linux, and Docker.
- AI-ready – Handles Qubic’s AI training tasks out of the box.
- Idle-time dual mining – Automatically mines Monero (XMR) when there’s no AI work to do, boosting your QUBIC rewards.
You can get the latest version from https://qubic.li (official pool site).
If you’re running a dedicated mining rig, you can also learn how to mine Qubic with HiveOS by using Qubic’s supported HiveOS integration.
Pro Tip: For advanced users looking to optimize performance, there’s also an unofficial miner called Alienminer. It’s community-developed and offers more tuning options, but it’s not beginner-friendly and may require manual updates.
Step 2: Set up your Qubic Miner (Configuration)
Once you’ve downloaded the Qubic miner, it’s time to configure it. You can either use the default setup (anonymous mining with just your wallet address) or create a pool account for full monitoring and stats.
Create or log into a pool account
Head over to pool.qubic.li (the official pool for Qubic miners), and sign up for a free account.
- This is where you’ll monitor your hashrate, track weekly earnings, and configure your miner using a visual dashboard
- I’d recommend it for beginners, especially if you’re learning how to mine Qubic with CPU or GPU and want a simple way to manage it all.
Generate your access token
Once you’re logged in, go to the Client Setup Configurator in the dashboard:
- Select your hardware: CPU, GPU, or both
- Choose whether to enable Monero mining during idle time (it’s on by default and boosts your QUBIC rewards)
- The configurator will generate a custom access token and configuration string tailored to your setup
This token securely connects your miner to your account and makes sure your contributions are tracked and paid accurately.
Prefer mining without registration?
You can mine without an account. Just use your QUBIC wallet address directly in the miner config.
- No sign-up needed.
- Payouts will still be credited to your address, but you won’t have access to the pool dashboard or stats.
- Good option for those who value privacy or want to test before registering.
Basic configuration settings
Here are the main parameters you’ll configure in your miner:
- CPU Threads: You can choose how many threads to dedicate to mining. For example, on a 16-core CPU, you might use 14–15 threads and leave 1–2 for your operating system.
- Enable GPU: If you’re learning how to mine Qubic with GPU, toggle this ON during setup.
- Monero Mining: On by default. It runs in the background when Qubic’s AI isn’t active, I’d suggest leaving it on, as it helps you earn even more.
- Access Token or Wallet Address: Add your token (if registered) or just the address (for anonymous mining).
Step 3: Join a Qubic mining pool
If you’re serious about Qubic mining, joining a mining pool is the way to go.
Why pool mining?
- You don’t need to solve full AI solutions. Just contribute smaller tasks and earn based on your share of the work.
- Rewards are paid out using a PPS+ system (Pay Per Share + bonus).
- It’s more stable and beginner-friendly than solo mining (assuming you’re not running a high-end farm).
QUBIC mining pools operate on a share-based system where miners are rewarded according to their contribution during each weekly epoch.
Unlike some exchange-based mining pools that have caused debate about centralization, Qubic’s infrastructure is independently managed and open to anyone.
Recommended Qubic mining pool
Weekly payouts happen every Wednesday at 12:00 UTC, so be sure to keep your miner running throughout the week to maximize your rewards.
Step 4: Start mining
Once you’ve configured everything, you’re ready to launch the Qubic miner and start earning.
What you’ll see when mining
- AI Training Logs: The terminal or miner window will show training rounds being completed.
- Monero Mining Activity: During idle periods, you’ll see logs related to RandomX/XMR mining. No need to configure this — it runs automatically.
- Hashrate: Displayed in it/s (iterations per second). This measures your contribution to AI training.
- Uptime: The longer your miner runs, the more you’ll earn.
If you signed up for an account, you can check the pool dashboard at any time to see:
- Your current hashrate
- Contribution score for the week
- Estimated rewards
If you chose anonymous mining, just let your miner run. Rewards will still be sent directly to your QUBIC address at the end of the epoch.
How to mine Qubic: Optimization tips
A few performance tweaks can make a noticeable difference in your earnings.
In this section, I’ll cover simple ways to fine-tune your setup and avoid common bottlenecks.
How to mine Qubic with GPU optimally
QUBIC’s AI training tasks are memory-intensive and multi-threaded, so CPUs play a huge role. While high-core desktops are the ideal choice, even laptop hardware can handle light mining workloads if configured properly.
- Use most of your cores: If your PC is dedicated to mining, set the miner to use all threads. If you’re still using the machine for browsing or work, leave 1–2 threads free for your system.
- Enable AVX2 or AVX-512: These CPU instruction sets provide a solid performance boost. Make sure they’re turned on in your BIOS or UEFI settings.
- Monitor thermals: Long training sessions can heat up your CPU fast. Invest in decent cooling if you’re using a high-core-count processor.
How to mine Qubic with CPU optimally
While CPU is still the core of Qubic mining, GPU performance can be optimized as well.
- Keep your GPU drivers up to date: For both NVIDIA and AMD cards, the latest drivers give full compatibility and performance with the Qubic miner.
- Overclock memory, not core: Since AI workloads are memory-heavy, a modest memory overclock often yields better results than cranking up the core clock.
- Watch your temperatures: Like rendering or deep learning tasks, Qubic’s AI computations can push GPUs to 100% usage for hours. Proper airflow and cooling make a big difference.
Bonus tip: If your card has under 8 GB of VRAM, you may see fewer or smaller AI tasks due to recent algorithm updates that increased memory requirements.
Enable auto-update
The Qubic mining client evolves fast. Algorithms change, features are added, and optimization tweaks roll out frequently. Make sure:
- You’re using the latest version of the Qubic miner.
- Auto-update is enabled (or check for updates weekly via the pool dashboard or GitHub).
How to mine Qubic with HiveOS
If you’re running a multi-GPU setup or just prefer a dedicated mining OS, Qubic offers full support for HiveOS:
- The Qubic miner has a custom HiveOS integration. You can install and manage it just like any other supported coin.
- You can run multiple rigs, tweak config files remotely, and monitor performance from your HiveOS dashboard.
- Setup is simple: just add Qubic as a custom miner, paste your launch parameters, and you’re good to go.
If you’re mining on a bigger scale, this is one of the easiest ways to streamline operations.
The bottom line: Why QUBIC mining is (probably) worth your time
QUBIC is a full-blown AI-powered ecosystem that rewards miners for contributing to something genuinely useful. By training AIGarth and filling in the gaps with Monero mining, your CPU and GPU are powering real computation.
It supports:
- CPU mining
- GPU mining
- Hybrid setups
So, it’s accessible whether you’re using a gaming PC, a mining rig, or a server-grade workstation. And thanks to active development, a vibrant community, and Qubic mining pools, it’s easier than ever to get started.
You don’t need custom scripts, expert tuning, or niche hardware. Just follow the steps, run the miner, and let it do the work.
Source:: How to Mine Qubic? Step-by-Step Guide to Set Up QUBIC Mining